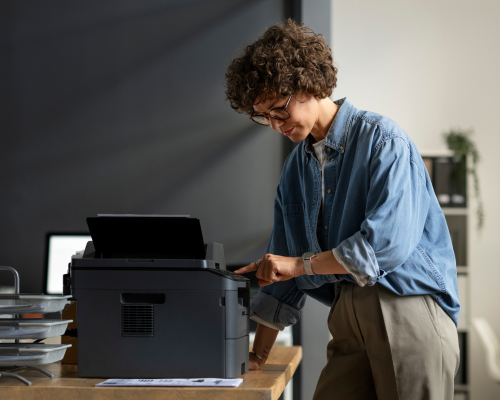
Quick & Easy Printer Setup in Just a Few Minutes
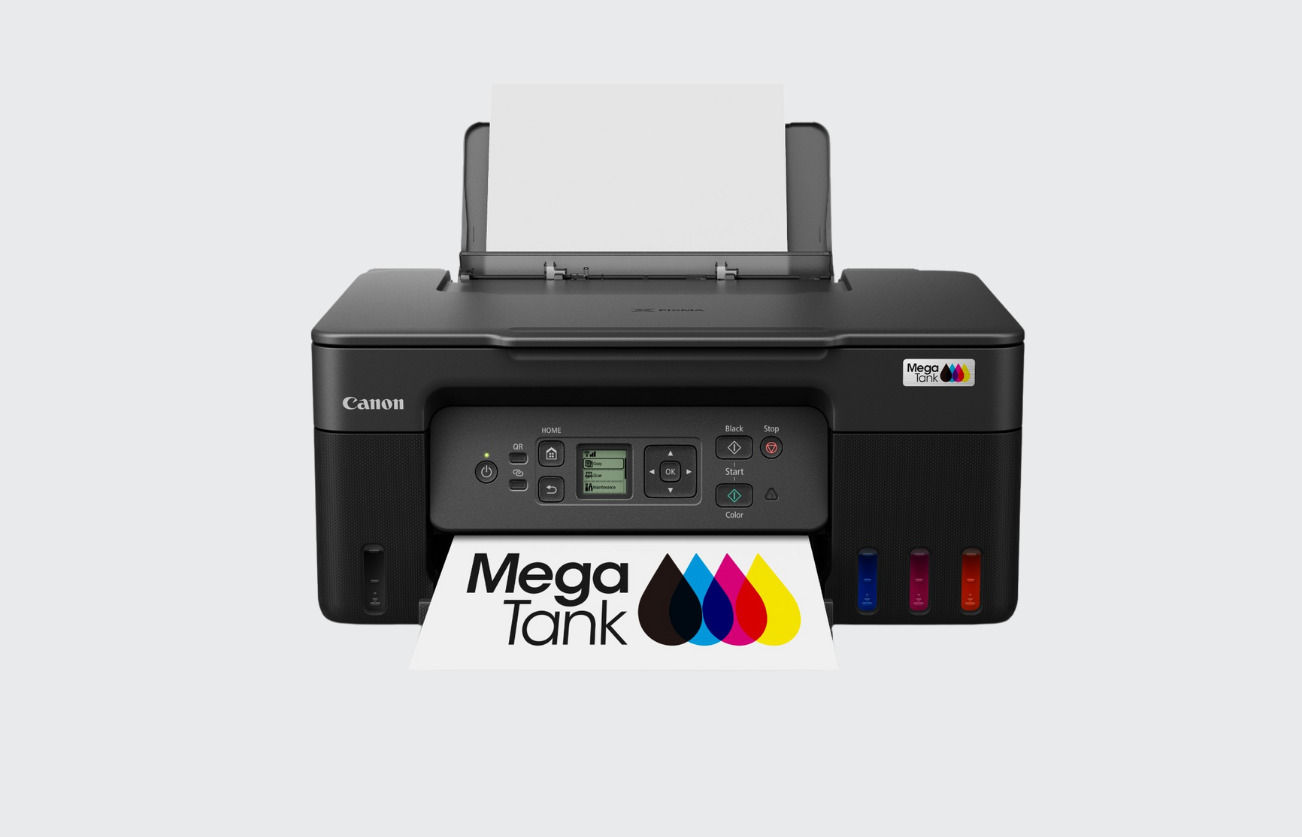
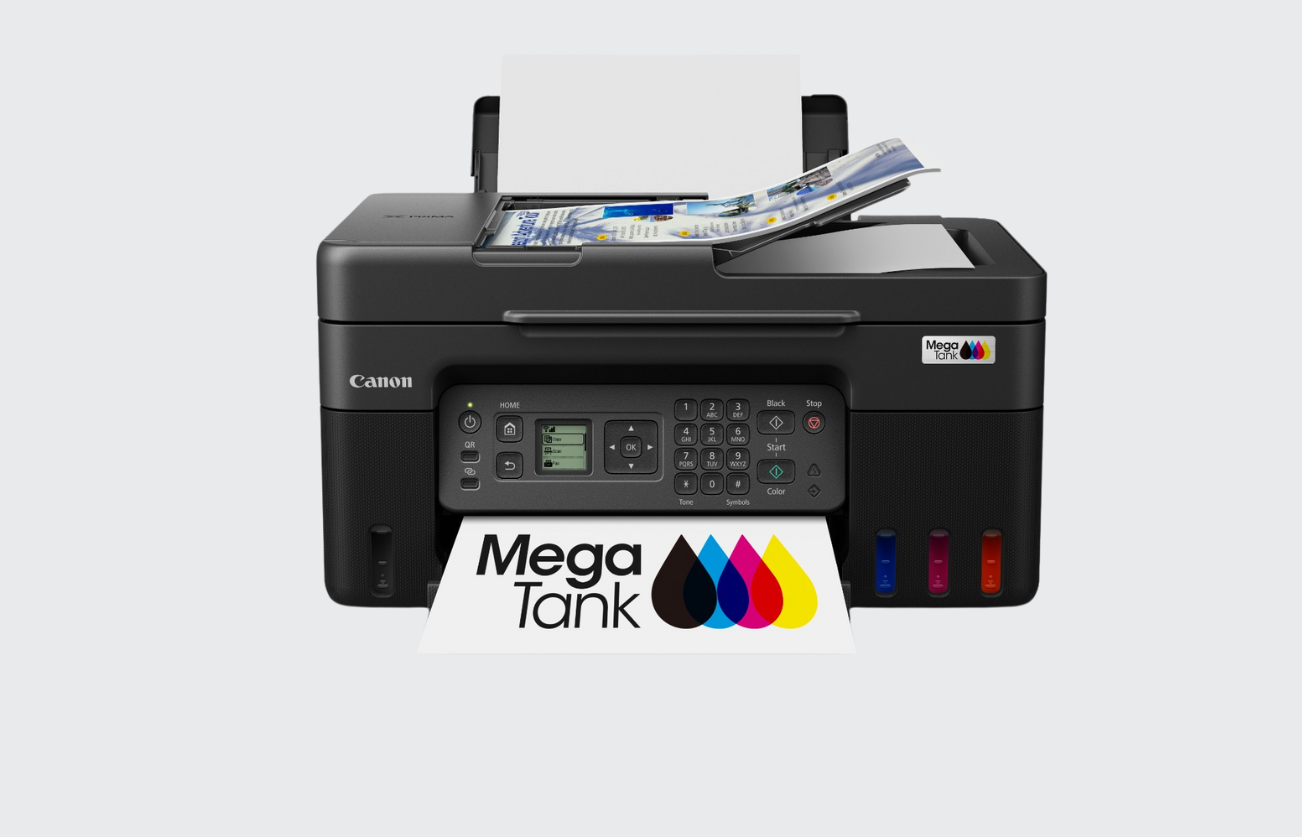
Setting up an all-in-one printer is easy. These printers allow you to print, scan, copy, and even fax in some cases. Simply follow the step-by-step instructions provided in the box to get started.
We make printer setup quick and easy. Just follow a few simple steps to connect it to your device.
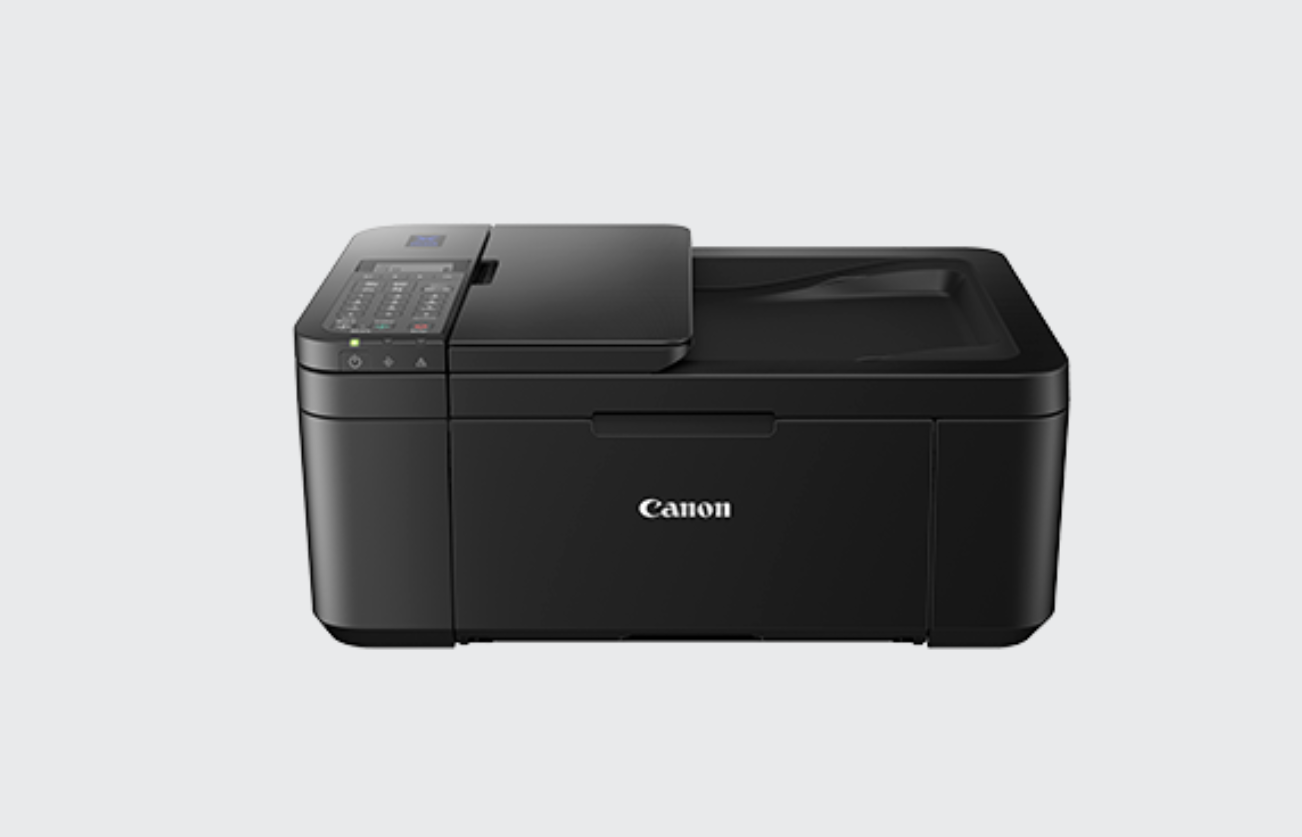
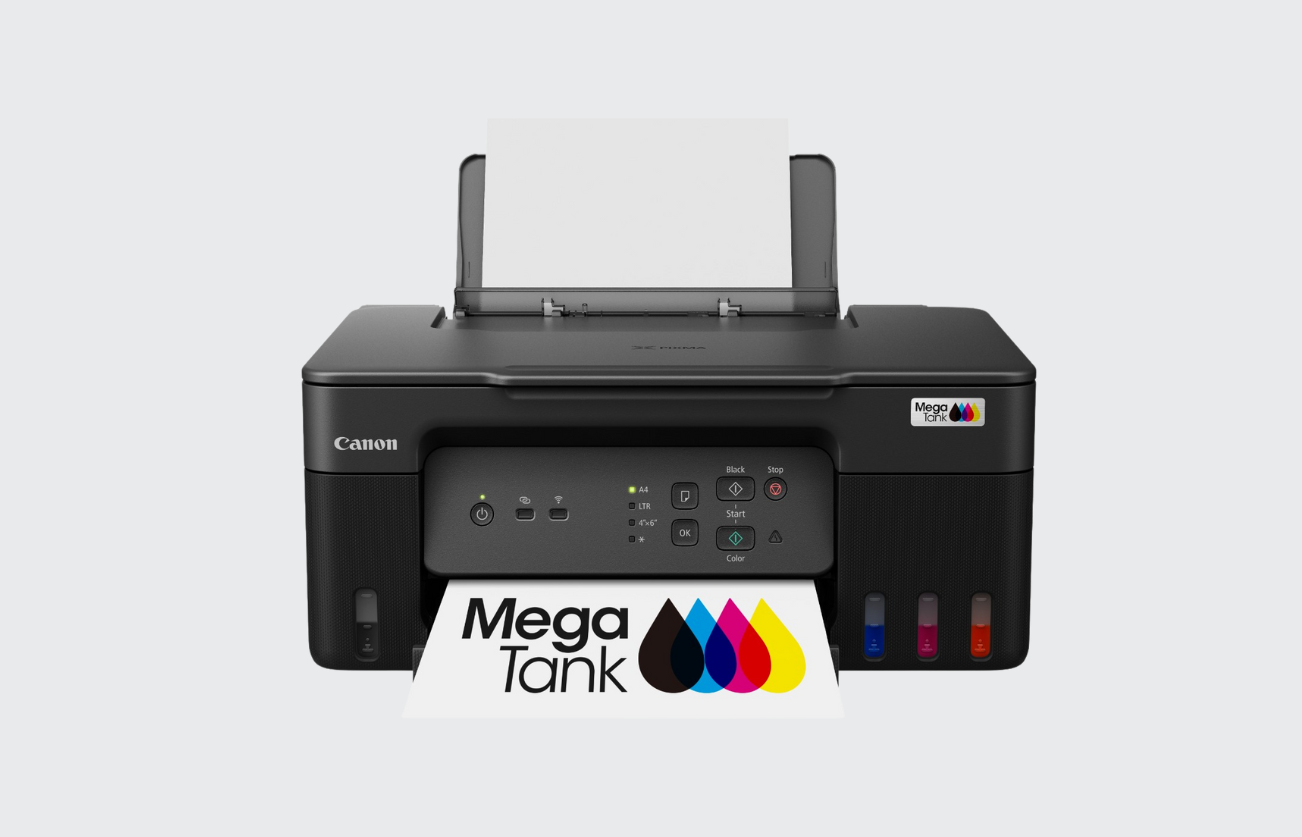
Connect your printer to Wi-Fi to print wirelessly from your phone, laptop, or tablet, without the need for any cables.
If you encounter any issues, we're here to assist you. Use our simple troubleshooting tips to resolve common printer problems quickly.
Set up your printer to work seamlessly with laptops, desktops, smartphones, and tablets.
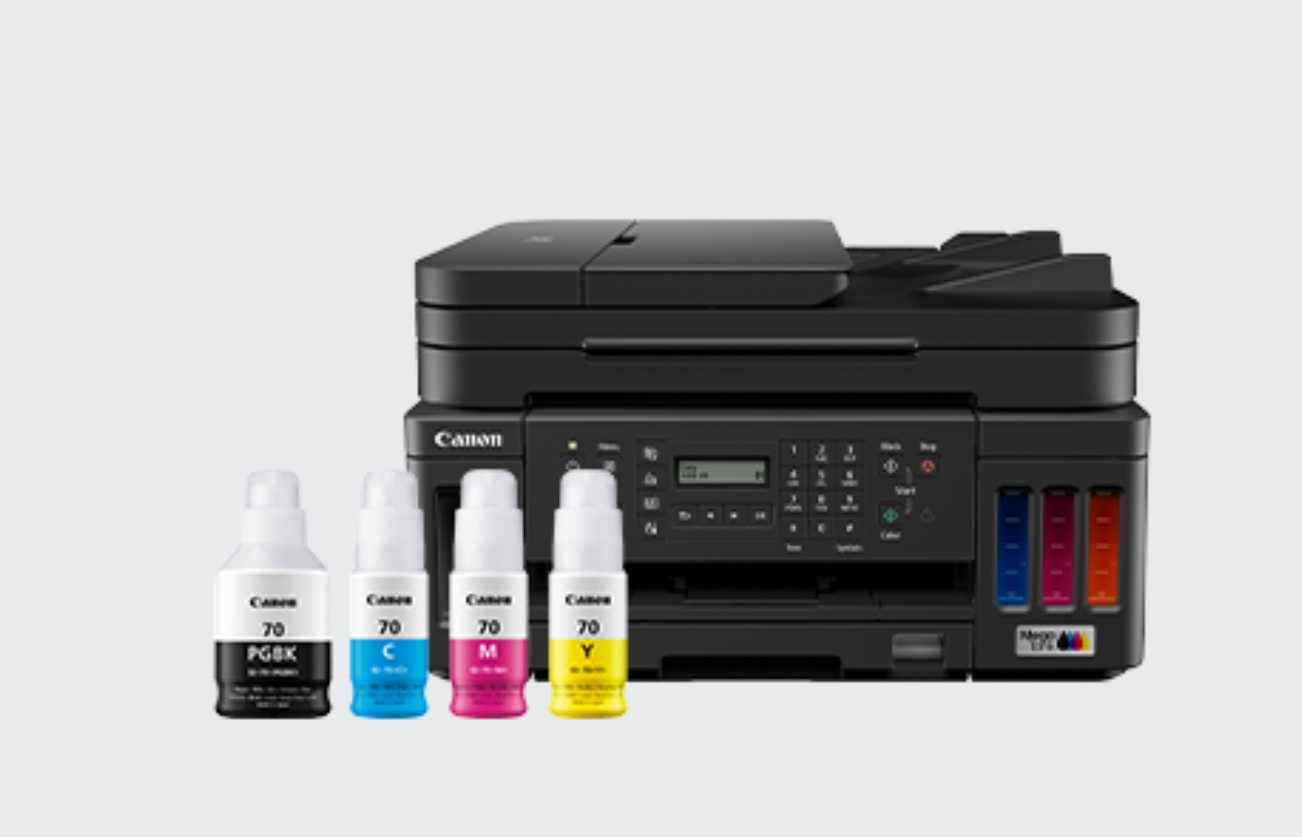
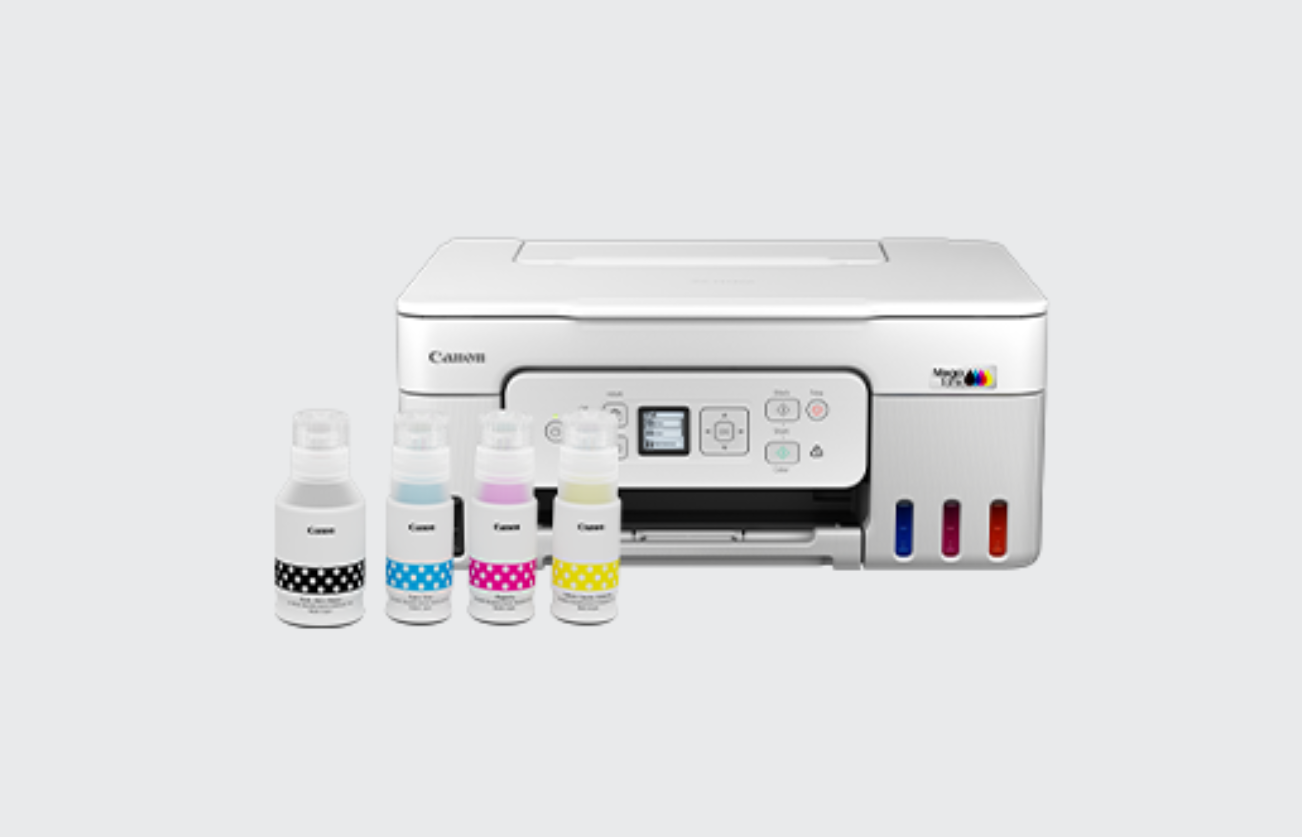
Take off all packaging materials and tapes from the printer. Make sure all accessories, such as the power cable, ink cartridges, and setup CD, are included.
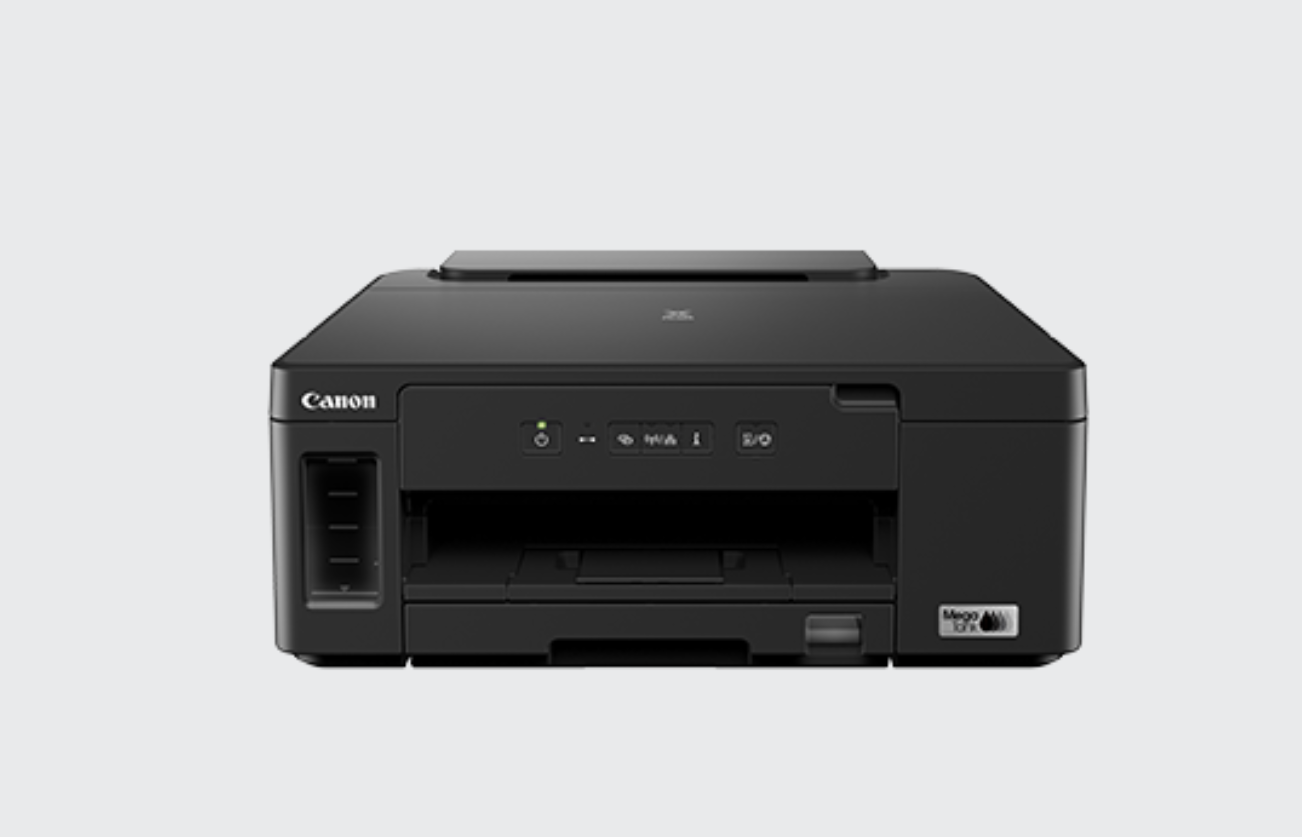
Place your printer on a stable, flat surface close to a power outlet and, if necessary, near your computer or Wi-Fi router for easy connectivity.
Connect the power cable and press the power button to switch on the printer.
Open the cartridge access door (check your printer manual for the exact location). Place the cartridges into their matching color slots and press them firmly to secure them.
Adjust the paper tray guides and insert plain paper into the tray properly.
Connect the printer to your computer using a USB cable (i) Navigate to the settings menu on the printer’s display screen. (ii) Select Wireless LAN Setup or Wi-Fi Setup. (iii) Choose your Wi-Fi network and enter the password.
Insert the setup CD that came with your printer into your computer and follow the on-screen instructions to complete the setup.
Print a test page to ensure the printer is functioning correctly (i) On Windows: Go to Control Panel > Devices and Printers, right-click the printer, and select Print Test Page.